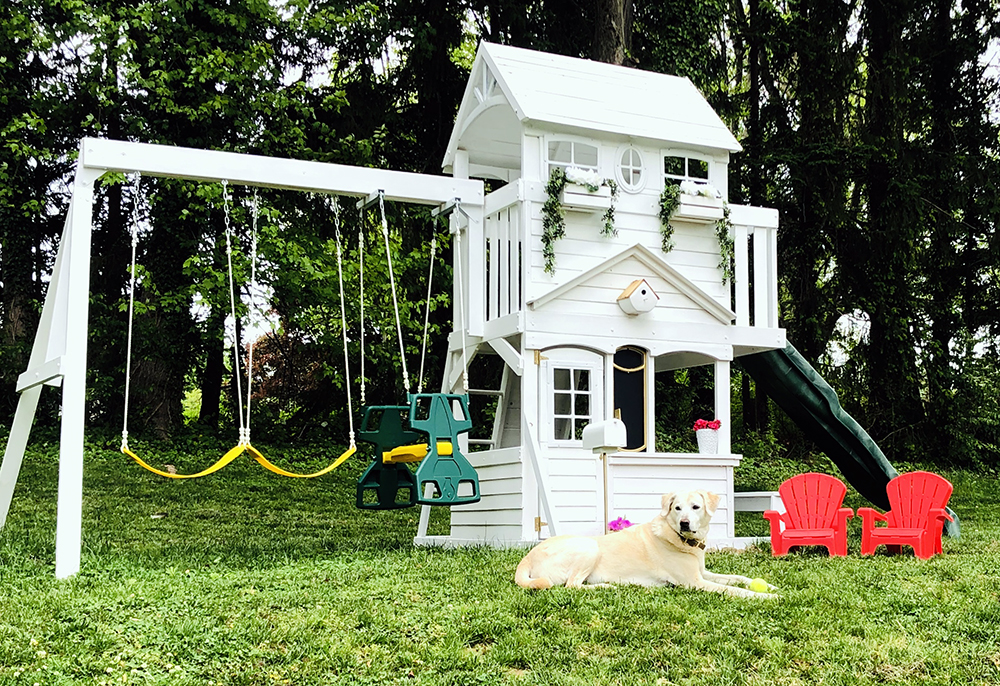
playset makeover
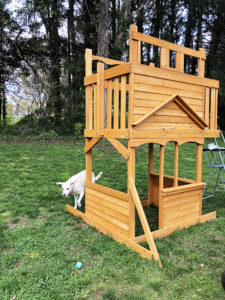
I had this project in mind LONG before we even had a playset! Thankfully, my in-laws gifted the kids with one for Easter this year so my dreams of a playhouse makeover could take shape. Even though I had plans for this DIY project, I was still reluctant to pull the trigger. Painting the playset seemed like a big undertaking after doing research and reading other tutorials BUT I knew that was the only way to get the transformation I was looking for.
I started this project during quarantine so sourcing supplies and actually going to a store to talk to experts was limited. So, I did my best to find what I needed and ordered online or sent Steve to the store with a VERY detailed list.
I only had Stella’s nap time to work on this project or when Steve was finished working so I crunched as much building into those short windows. This made certain things easier to do because I was forced to stop working and take time to reflect on my progress + plan. This is how I came up with putting certain pieces together in our garage and them painting them prior to put them together. For example, this made painting the inside of the roof SO much easier!!
the paint
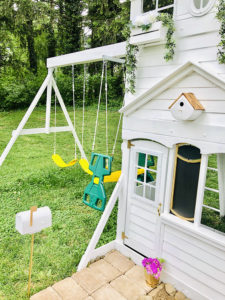
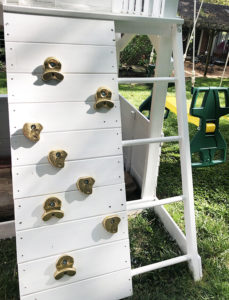
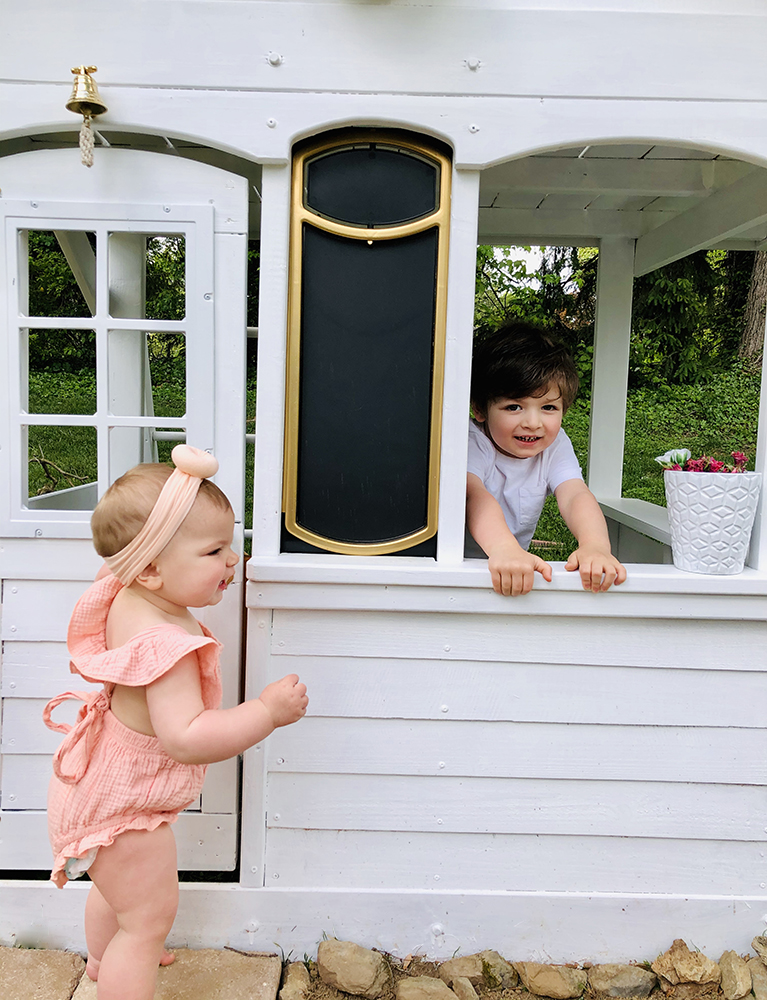
I used Kilz All-Purpose Exterior Primer to prime the cedar wood because it was the most affordable option as far as primers go. I used 1 gallon for the whole set and that allowed me to do one coat. The primer is absolutely necessary because the cedar soaks in so much paint. I contemplated using a paint-sprayer, roller or brush and in the end – a regular paint brush won. If you have a paint-sprayer – GO for it! We didn’t already own one and renting one would not work because I had to spread the painting over multiple days due to weather conditions, nap times etc. A roller did not work because the level of details, nooks and crannies I needed to reach. For the topcoat, I used a Valspar Exterior Paint in white, of course! Again, 1 gallon was the right amount to complete the job. I used white spray paint for the windowpanes and other details like the swing set hooks and chains. I used gold spray paint for the rock climbing pegs, door hinges and pulls. I also painted the border of the chalk board gold because it was originally yellow. I love how the crisp white against the pop of gold came out!
the details
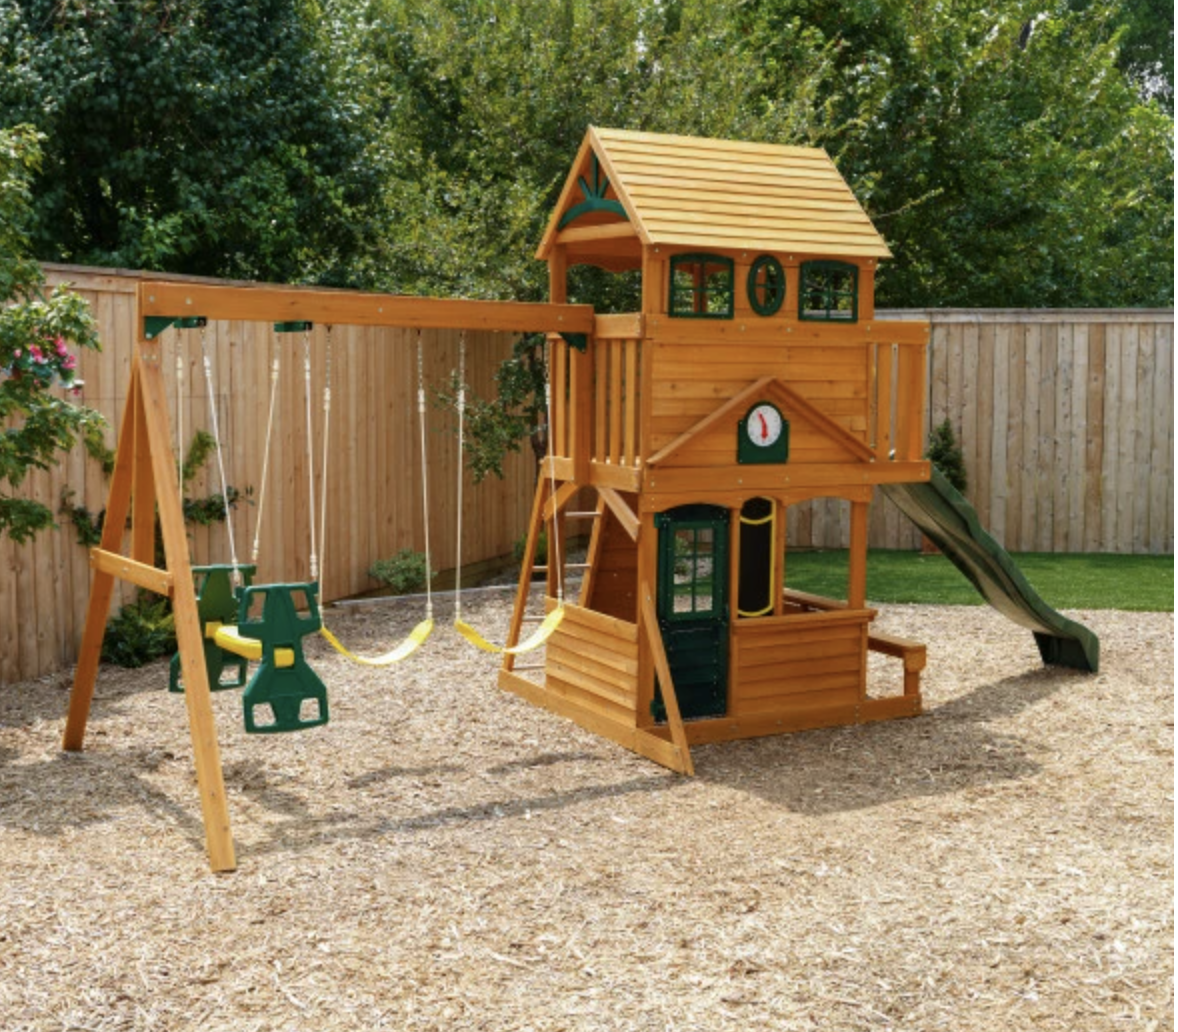
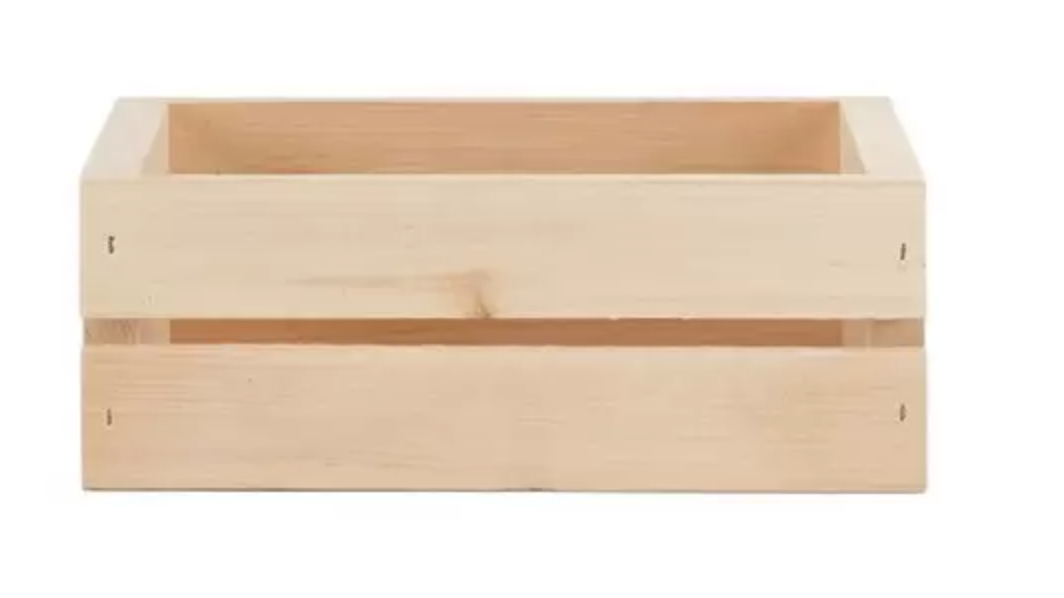
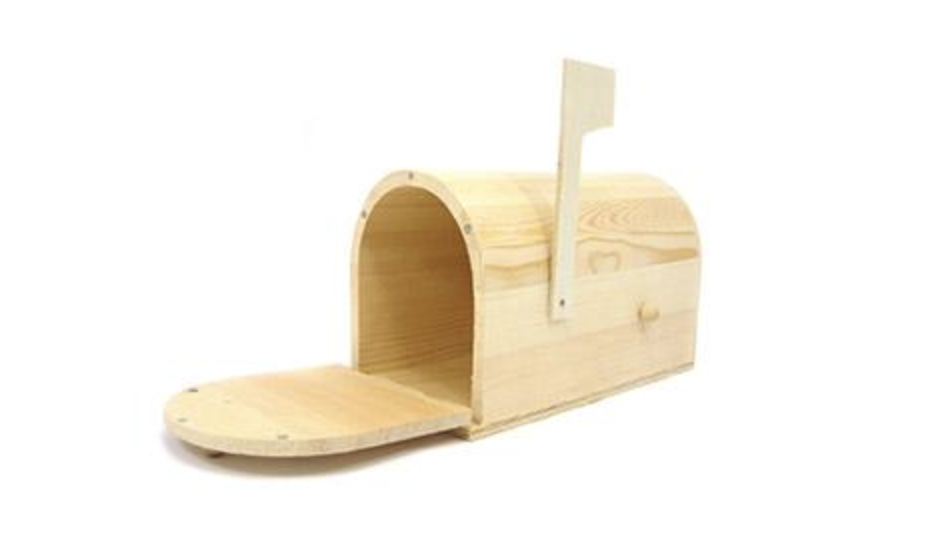
I definitely wanted to add flower boxes to the windows but knew I would have to buy something to create the look because I don’t have all the tools necessary to build something. Luckily, I was able to find unfished CD crates at JoAnn’s. This was an unusual find BUT they were the perfect size and I could also paint them to match. I ordered floral foam for the boxes so I could keep the artificial flowers in place. I hot glued the foam to the bottom of the crate for extra security then I screwed the boxes into place from the INSIDE of the playhouse. I went ahead and grabbed the florals from JoAnn’s as well. I used this bundle of hydrangeas and cut to arrange them how I wanted. I used one of these hanging bushes in each box and just draped pieces on either side to make it appear to be coming out of each side. The playhouse came with a plastic clock – I decided a birdhouse fit better in its place. My kids are younger and don’t even really know what TIME IS!! haha so the birdhouse looked better astatically and seemed more practical. Unfortunately, the birdhouse I bought is not holding up that well in the elements. I am on the hunt for a similar one and will update when I replace. We had to have some sort of doorbell!! So, I found this brass bell which tied in with the décor perfectly. I mounted it so when the door swung open or closed the braided cord would make contact and ring the bell! Lastly, what house doesn’t have a mailbox?!?! This mailbox was also unfinished like the crates so I could paint it to match. I used a metal rod I already had and a small piece of wood to mount the mailbox to. Papa comes over to deliver notes to Mikey’s mailbox and it is probably the sweetest thing! I used pavers to create a walkway to the front door from the mailbox and some rocks we had to provide a perimeter for a mini flower bed. I planted creeping jenny in the flower bed because if its hardiness and ability to be walked on.
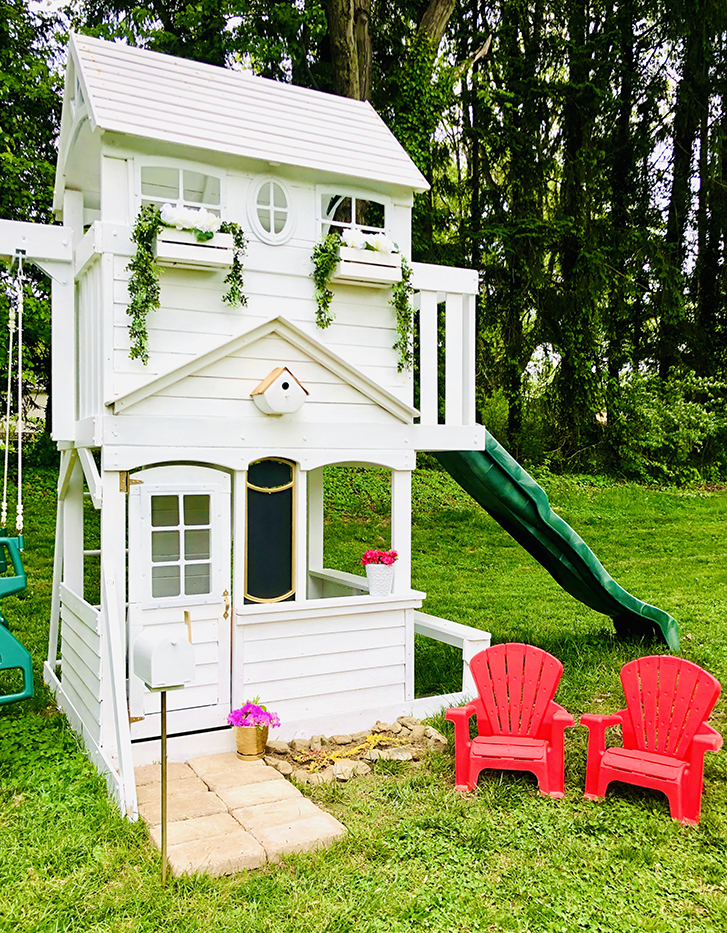
I know this is A LOT! Trust me, I built it lol! So if you have any questions or are planning a playground makeover – Let me know if you have any questions or just need some moral support!!
Ash Ask Mash
My goal is to share REAL life moments from motherhood and family life while cooking and creating amazing things along the way. Follow along to add flare + sophistication to meals, design hacks, DIY projects & MORE!

