diy acrylic framed artwork
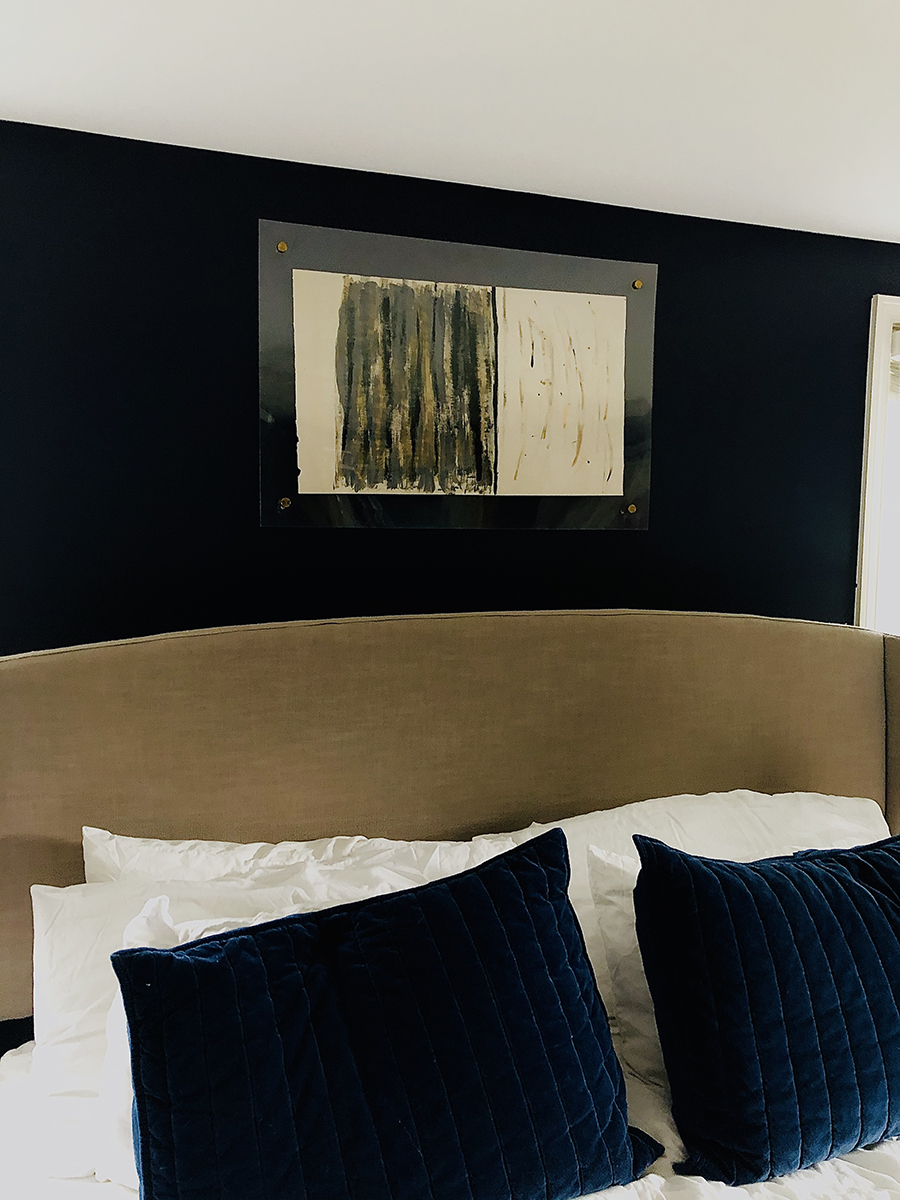
I don’t know about you but I have had a slight obsession with these acrylic frames with the gold hardware since the first time I saw one! I have seen them everywhere but never for a price I am willing to pay!! Cue the DIY project…
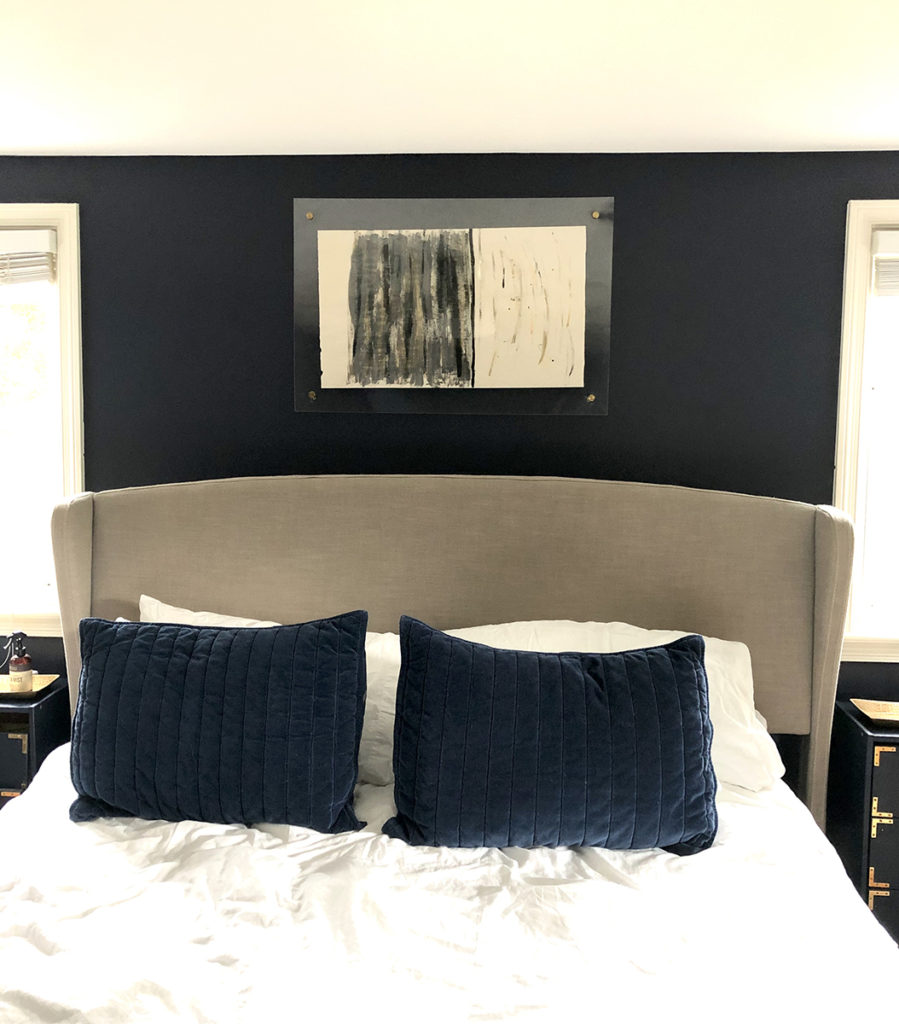
We have been needing a piece of art over our bed since we moved into our home. I have searched and searched but came up empty handed! I finally got the idea to make my own artwork AND frame. Now, the “art” is very abstract so nothing crazy. I just chose some colors that went with our bedroom using acrylic paints I purchased on amazon. I knew the piece of art needed to be landscape to fit the space so I actually used the roll of paper from Ikea that the kids use on their art table…. I know, very fancy!! You could definitely use a higher quality media but I did this project on a whim!
After creating my ‘masterpiece’, I let it dry and got to work on the frame! I found really affordable acrylic plexiglass on amazon. If I did it again, I would buy a better quality acrylic but this was my first attempt and again, I was using kids art supplies to make this happen! Anyways, I left the protective film ON the plexiglass to avoid scratching it during assembly. I opened my gold floating mounts to see what size drill bit I needed. I carefully measured 2 inches in from the top, bottom and sides to mark where the hardware would go. I actually used a seamstress measuring tape to do my measurements so it could lay flat to ensure precision but a flat ruler would also work! After I double checked my measurements, I drilled each hole carefully by letting the glass over hang the table just enough for the drill to pass through.
Once I had 4 holes drilled in each piece of acrylic plexiglass, I removed the protective film from sides that would be sandwiched together. Then, I centered my artwork in between the glass and mounted it with double sided tape to prevent it from shifting. The hardware does not actually get installed on the frame until you are mounting it to the wall so that is unusual but you will see why!

Hanging the artwork proved to be the hardest part of this entire project! Lining up the holes to install the floating hardware was difficult but hopefully I can talk you through it!
1. Using your board, find the area on your wall you would like to display.
2. Once placed, use the holes to make a small marking with a pen or marker for the hardware. I used a level and tape measure to ensure the art was centered and level!
[We have dark colored walls so I used a white chalk pen to mark my holes so I could actually seem them!!]
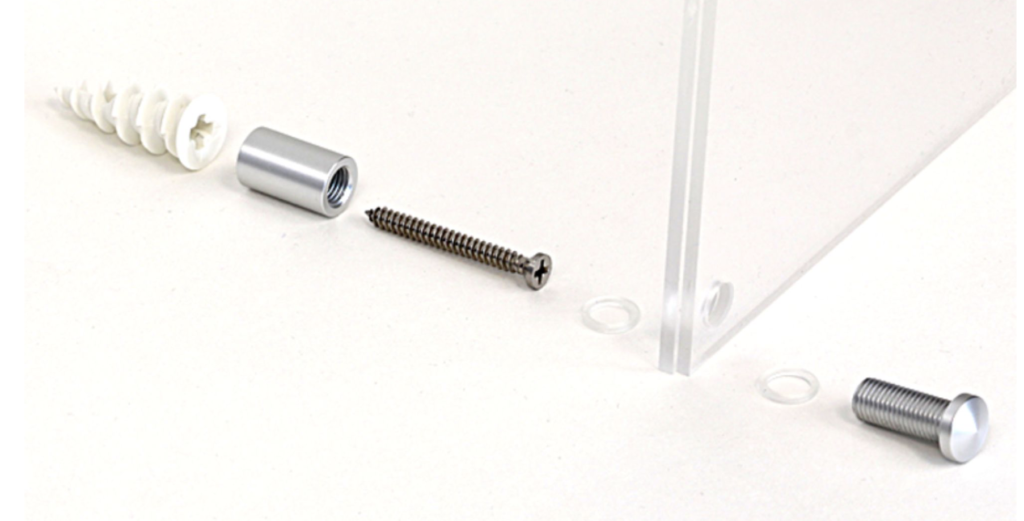
3. Unpack your 4 standoffs. Each standoff is made of two pieces, unscrew them from each other.
4. Take the base of the standoff and screw into each of the four markings you made previously. You can use the anchors provided at your discretion, but they are strongly recommended for larger, heavier pieces. I used the anchors and drilled a pilot hole before installing them.
5. At this time, I removed the rest of the protective film.
6. Hold the board up and screw in the top piece of your standoffs, sandwiching the acrylic between the back piece you have installed in the wall. Voila!!
There you have it!! A decent piece of framed artwork for less than $100!!! Let me know if you have any questions! I would love to see if you tackle this high-end yet affordable look!

